


AI image generation is moving fast, and honestly, the days of crossing your fingers and hoping for a good result are over. Today’s AI art tools feel more like having a fully decked-out "personal AI photo studio." You’re no longer just typing prompts—you’re stepping into the shoes of a director, lighting technician, and lead photographer.
Today, we’re putting Chat GPT Image 2.0 to the test to see if it really brings a pro studio straight to your screen. Stick around for the second half, where I’ve put together a super easy, beginner-friendly tutorial to help you shoot commercial-grade blockbusters from scratch.
😄Part 1: The Review — Just How Good is This "Personal Studio"?
In our hands-on test, we really focused on how Chat GPT Image 2.0 handles prompt understanding, lighting control, and style versatility.
1. Prompt Understanding: No More Lost in Translation
Older AI tools used to drop the ball on details all the time (like messing up "wearing a red hat and blue shoes"). Chat GPT Image 2.0’s biggest flex is how incredibly well it follows instructions.
Spatial Awareness: When you type "a coffee cup on the left of the laptop, and a pen on the right," it nails the layout. No weird merging objects or mixed-up placements.
Text Generation: It can accurately generate short English words or Pinyin on signs, and the typo rate has dropped massively.
2. Lighting & Textures: Pro-Studio Level Realism
This right here is why it earns the "personal studio" title.
Lighting Control: Whether you want the classic portrait shadows of "Rembrandt lighting" or the morning sunbeams of the "Tyndall effect," it renders light transitions that just look physically correct.
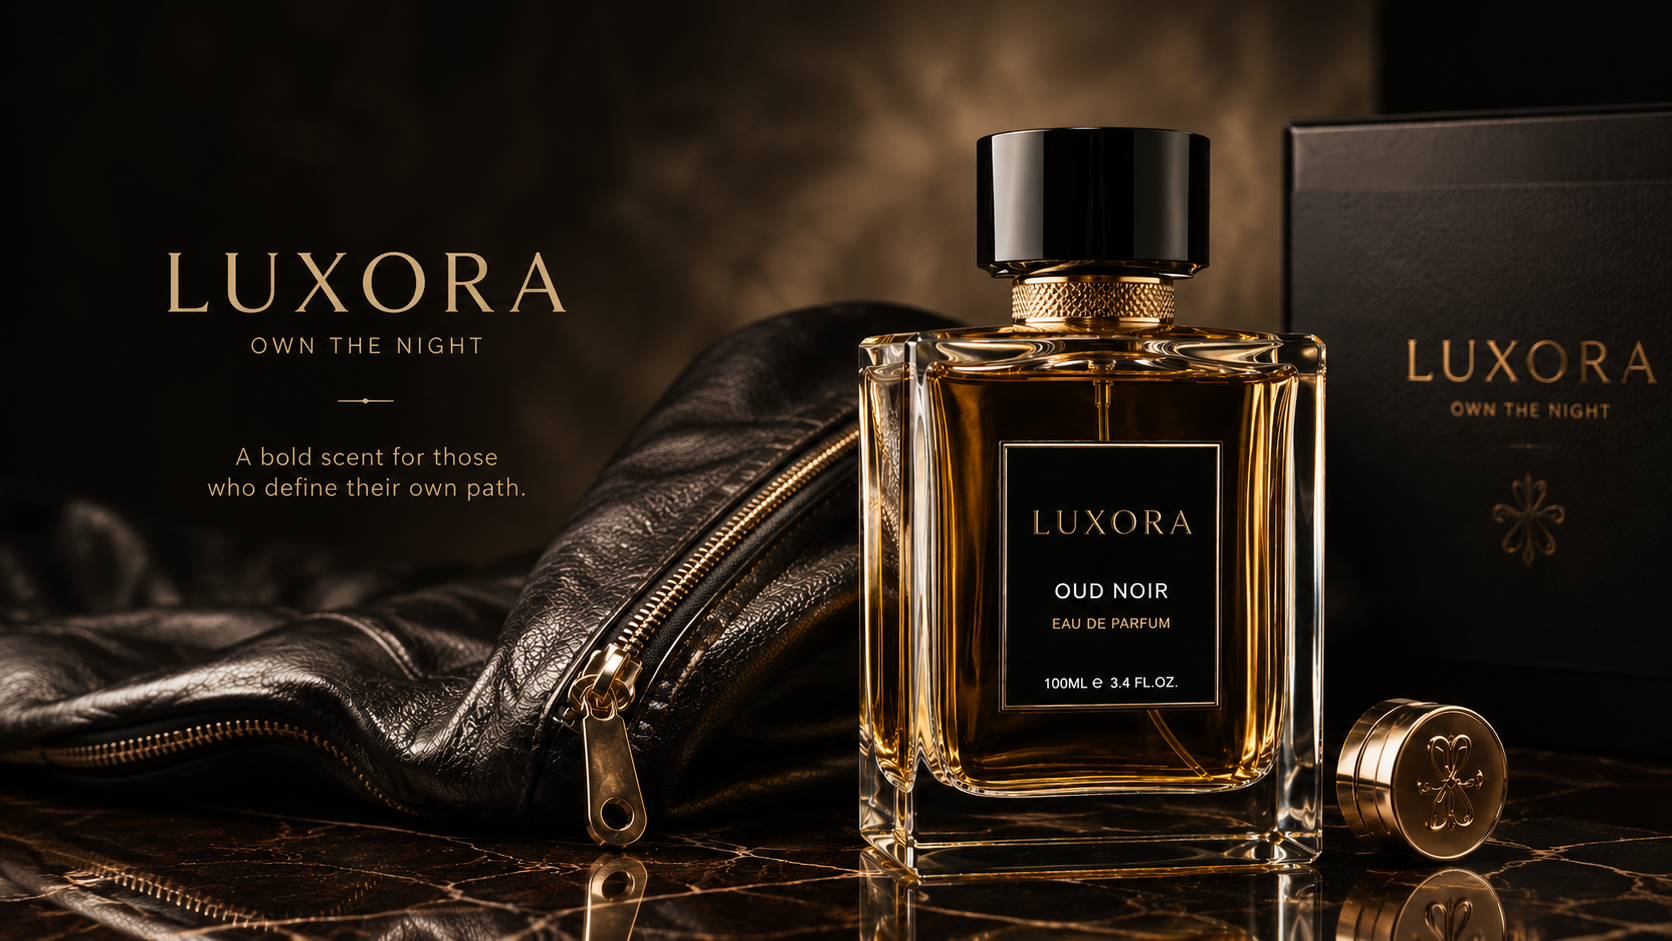
Realistic Textures: It accurately separates the grain of leather, the refraction of glass, and the shine of metal. When we tested it on product photography, the perfume bottle it generated was basically ready to go straight into an e-commerce ad.
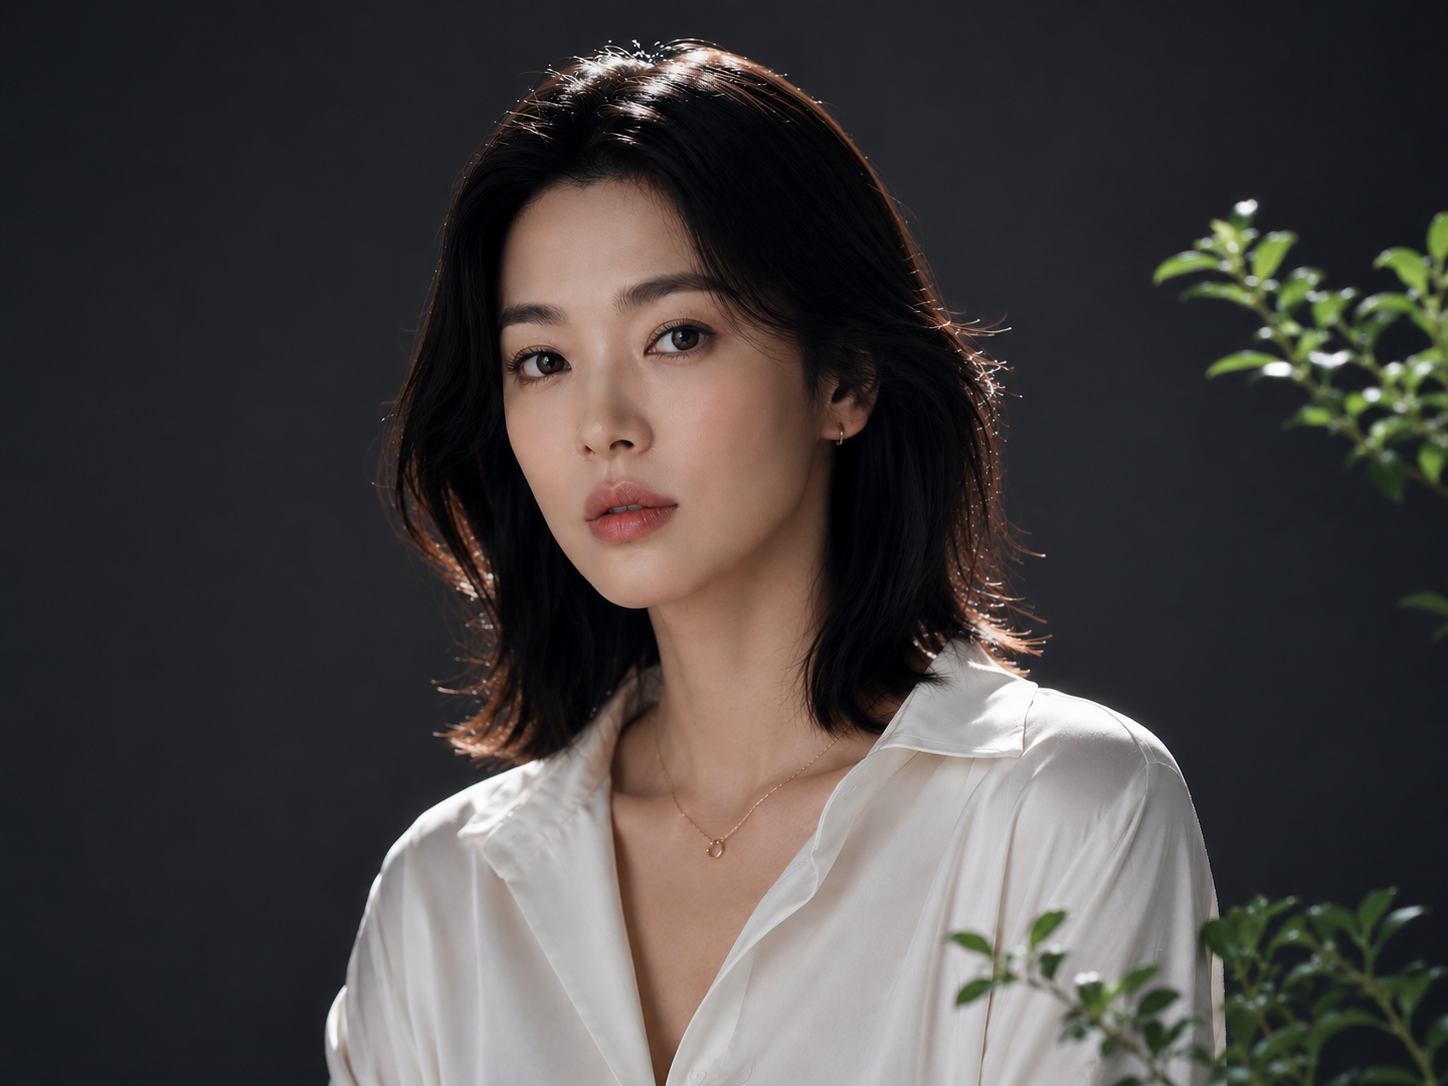
3. Consistency: Keeping Characters and Scenes Stable
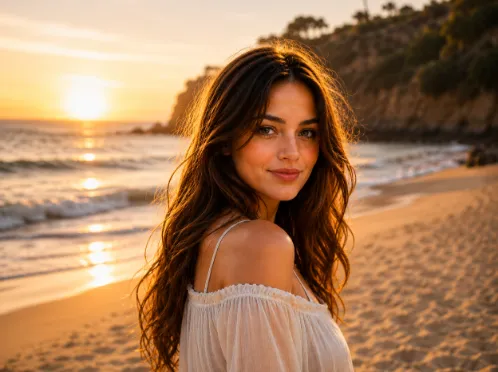
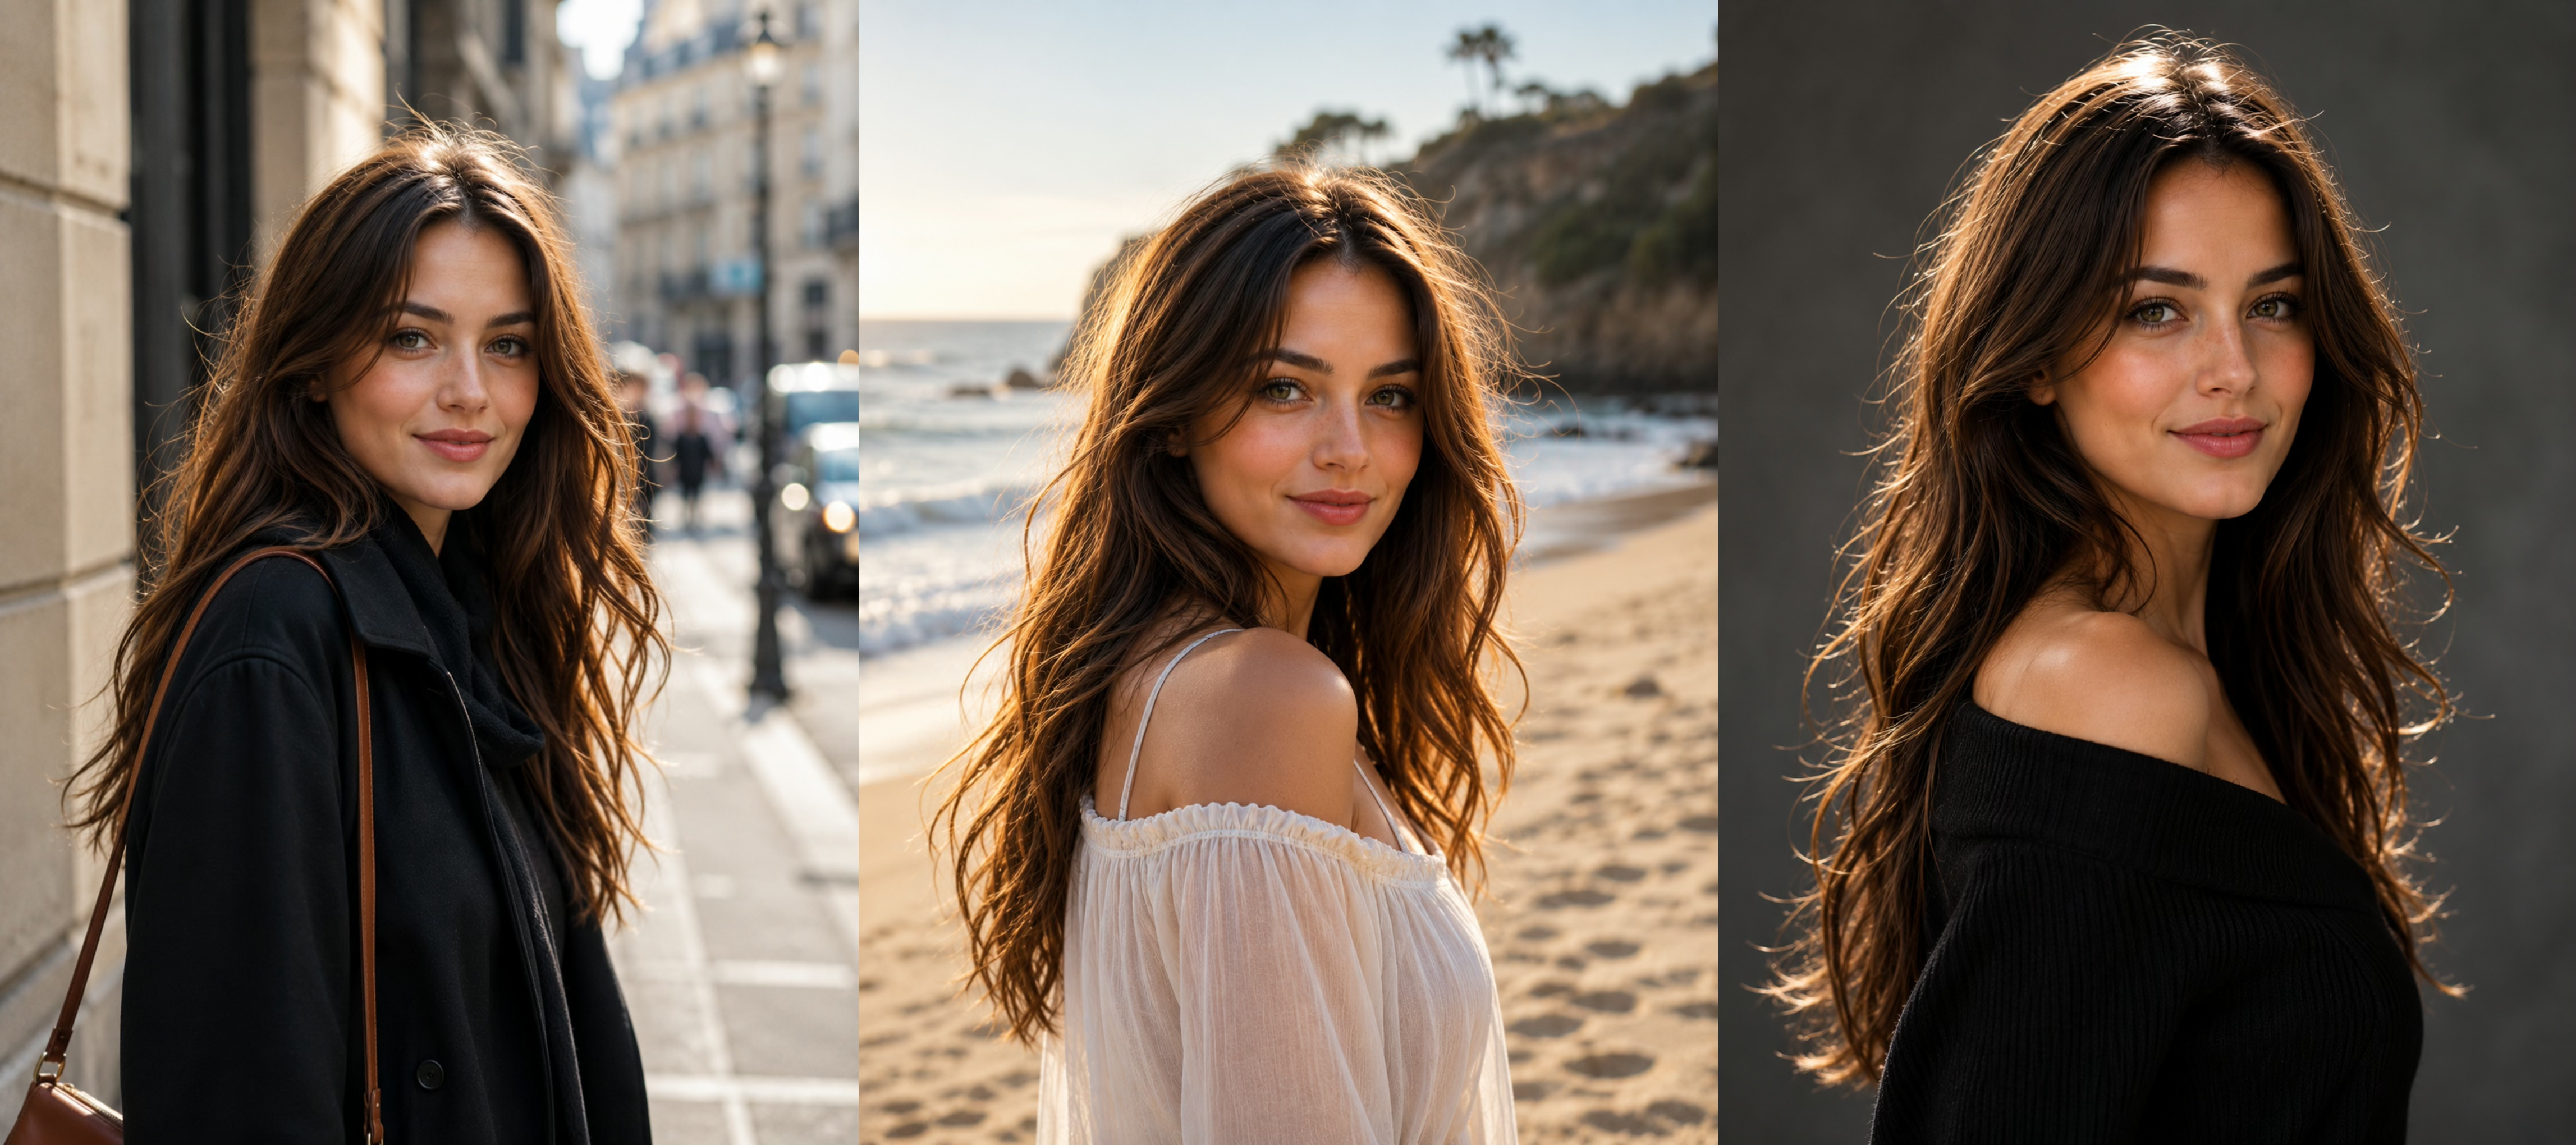
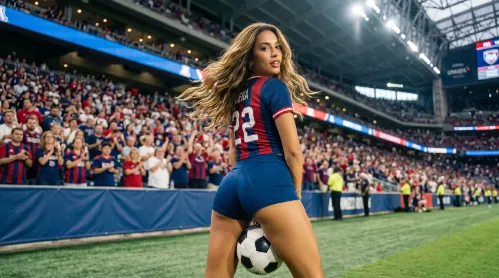
Chat GPT Image 2.0 holds up really well when you're generating the same subject over and over. As long as you keep your core descriptive prompts the same, you can easily drop the same "virtual model" into totally different scenes—like a street, a beach, or a solid studio backdrop—without them changing their look.
😍Part 2: The Tutorial — Step-by-Step Guide to Building Your "AI Studio"
Enough talking, let's get practical. Let's break down the core logic behind "studio-level" prompts. Once you master this formula, you'll have Chat GPT Image 2.0 eating out of the palm of your hand.
The Ultimate Prompt Formula:
[Subject & Details] + [Environment & Background] + [Camera Specs & Lighting] + [Style & Vibe]
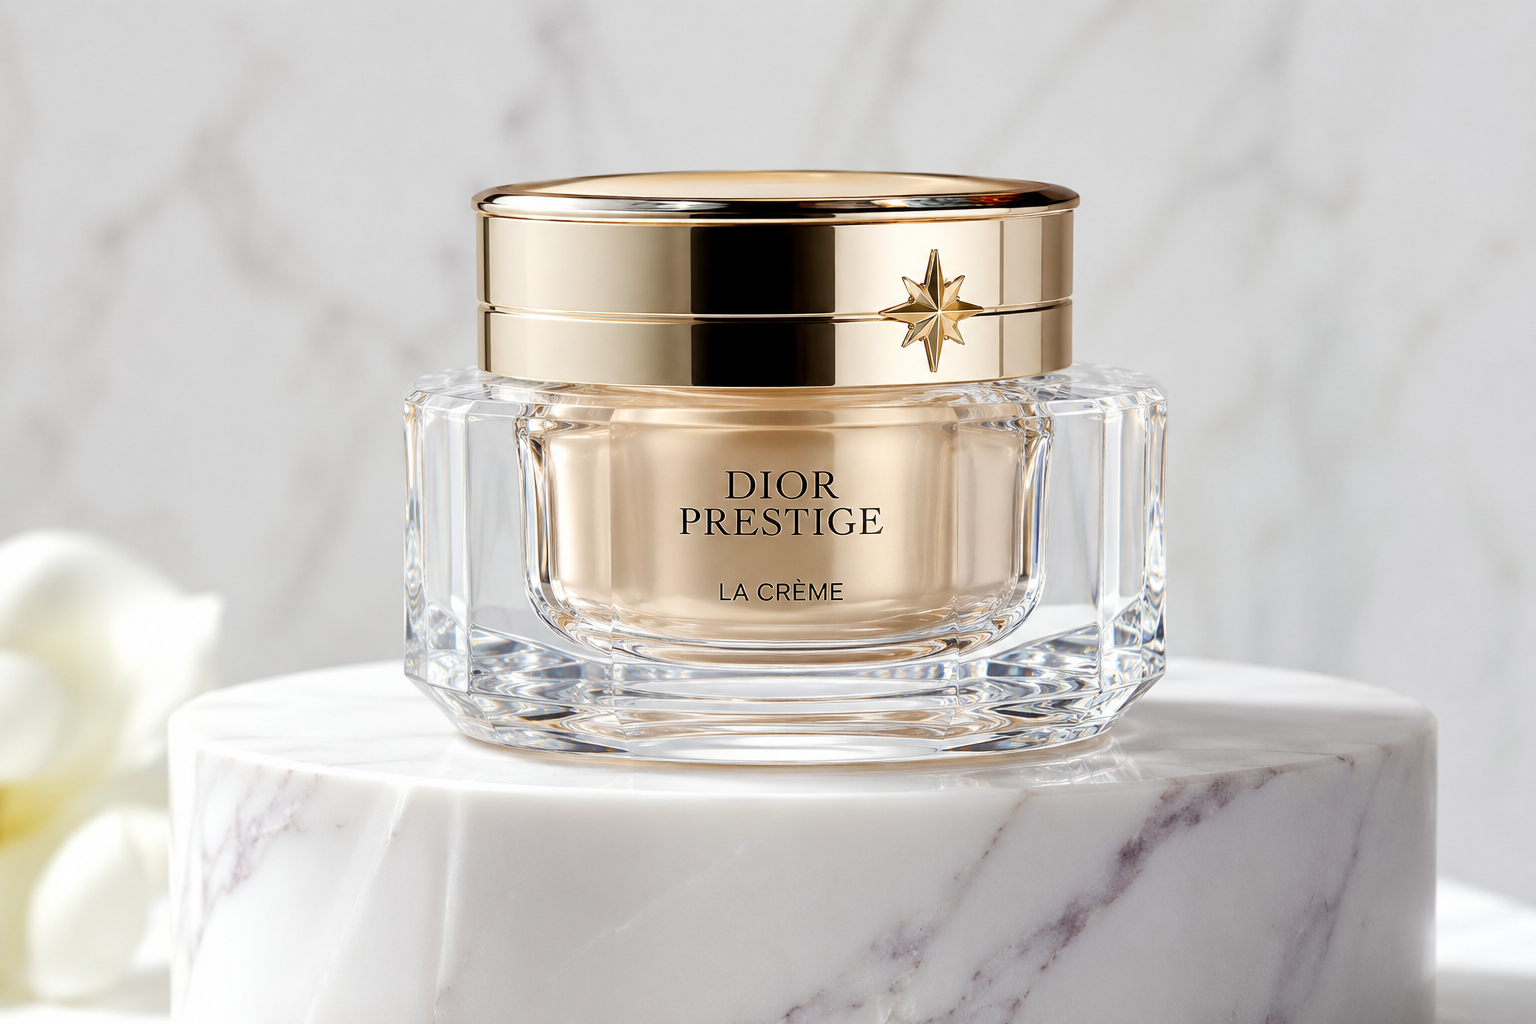
Let's Try It: Generating a Commercial Beauty Product Shot
If you need a high-quality poster for a face cream, whatever you do, don't just type: "Draw a face cream." Instead, mash up the formula from above.
Just copy and paste this prompt into Chat GPT Image 2.0:
"Product photography, a high-end glass face cream jar placed on a sleek white marble podium. Clean and minimalist background. Soft studio lighting, macro lens, sharp focus, elegant and luxurious vibe, highly detailed, 8k resolution."
Pro-Level Tweak Tips:
If the image is too bright: Add Low key lighting or moody atmosphere.
If it lacks that realistic feel: Toss in Shot on 35mm film or Kodak Portra 400 to give it a slight, natural film grain.
❤️The Last Word
Chat GPT Image 2.0 has massively lowered the barrier to entry for creating top-tier visual content. It’s no longer an unpredictable blind box; it’s a "personal AI studio" ready to work for you—as long as you know how to talk to it.
Don't be afraid to experiment! The best way to learn is simply to open up the tool and type in your first camera settings. Next time you need a banner, a post image, or just some design inspiration, why not play the role of a cyber-photographer yourself?


'%20fill-opacity='.4'/%3e%3cpath%20d='M29.07%2012c.982%200%201.473%200%201.88.194.35.166.667.457.863.79.23.389.27.859.354%201.797.27%203.072.518%207.922-.297%2010.472-1.03%203.22-5.8%206.507-8.257%208.023-.477.295-.715.441-1.038.515a2.227%202.227%200%200%201-.868.006c-.324-.07-.565-.215-1.046-.504-2.512-1.51-7.435-4.811-8.478-8.04-.888-2.752-.622-7.52-.327-10.524.09-.914.135-1.372.365-1.757.196-.327.516-.617.86-.78.407-.193.89-.192%201.853-.192H29.07z'%20fill='var(--fill-0,%20%23FD7F11)'/%3e%3cpath%20d='M26.337%2017.75a.854.854%200%200%201%201.212-.11.872.872%200%200%201%20.11%201.218l-6.088%207.392a.855.855%200%200%201-1.2.122l-.07-.063-3.906-3.944a.871.871%200%200%201%200-1.222.853.853%200%200%201%201.216%200l3.24%203.268%205.486-6.66z'%20fill='var(--fill-0,%20white)'/%3e%3c/svg%3e)